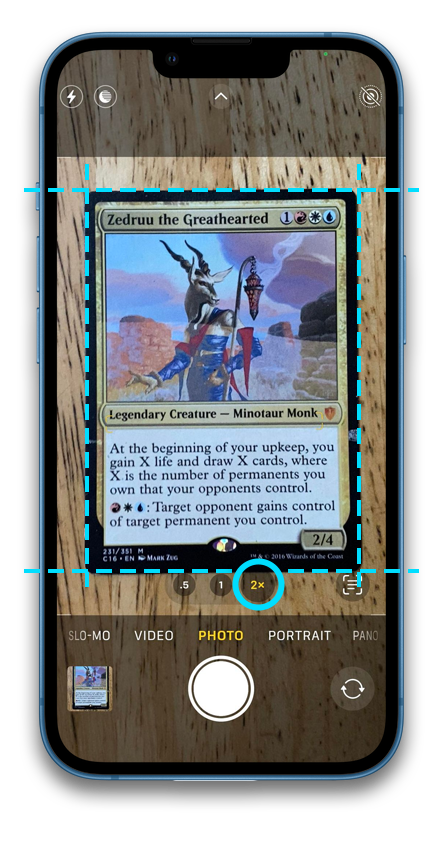
1.
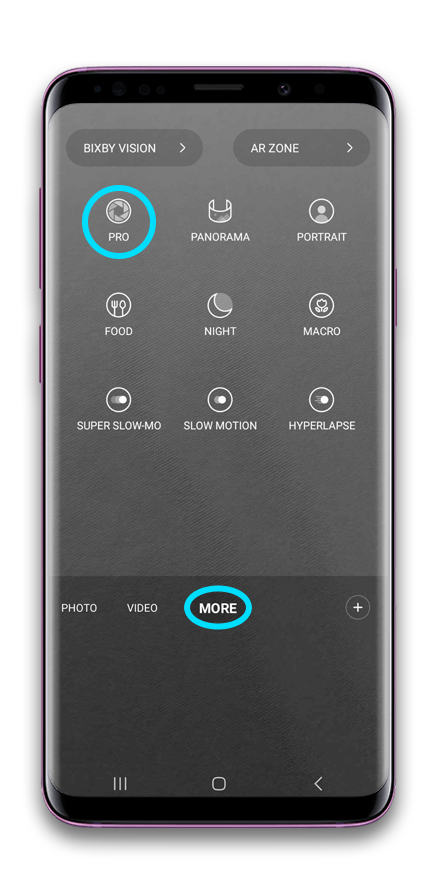
Before you start documenting, change your device's camera settings to so that the camera is saving photos using the highest resolution it can. On an Iphone, this setting is controlled under Settings->Camera->Formats. You want to select 'Most Compatible'. On most non-apple devices, the image resolution is controlled from within the camera application itself. On the Samsung below, you would open the camera app and activate pro mode. This will automatically change the file format to most compatible and will give you other manual options you will want to use. If your device is different, just search up your devices camera settings in your favorite browser.

2.
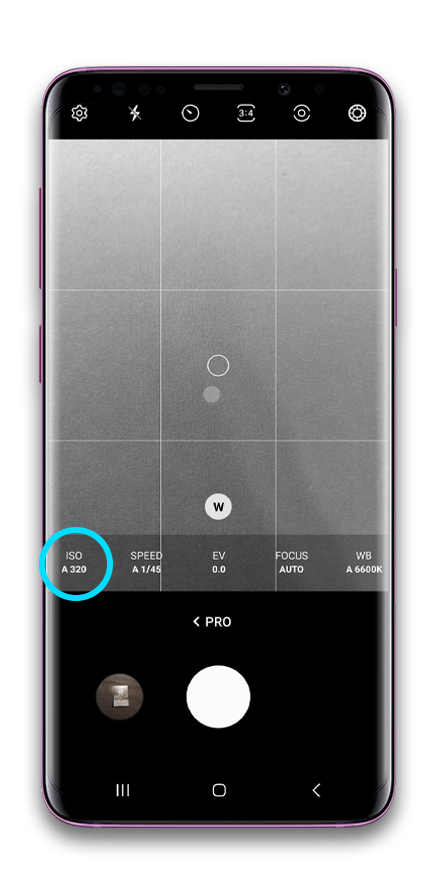
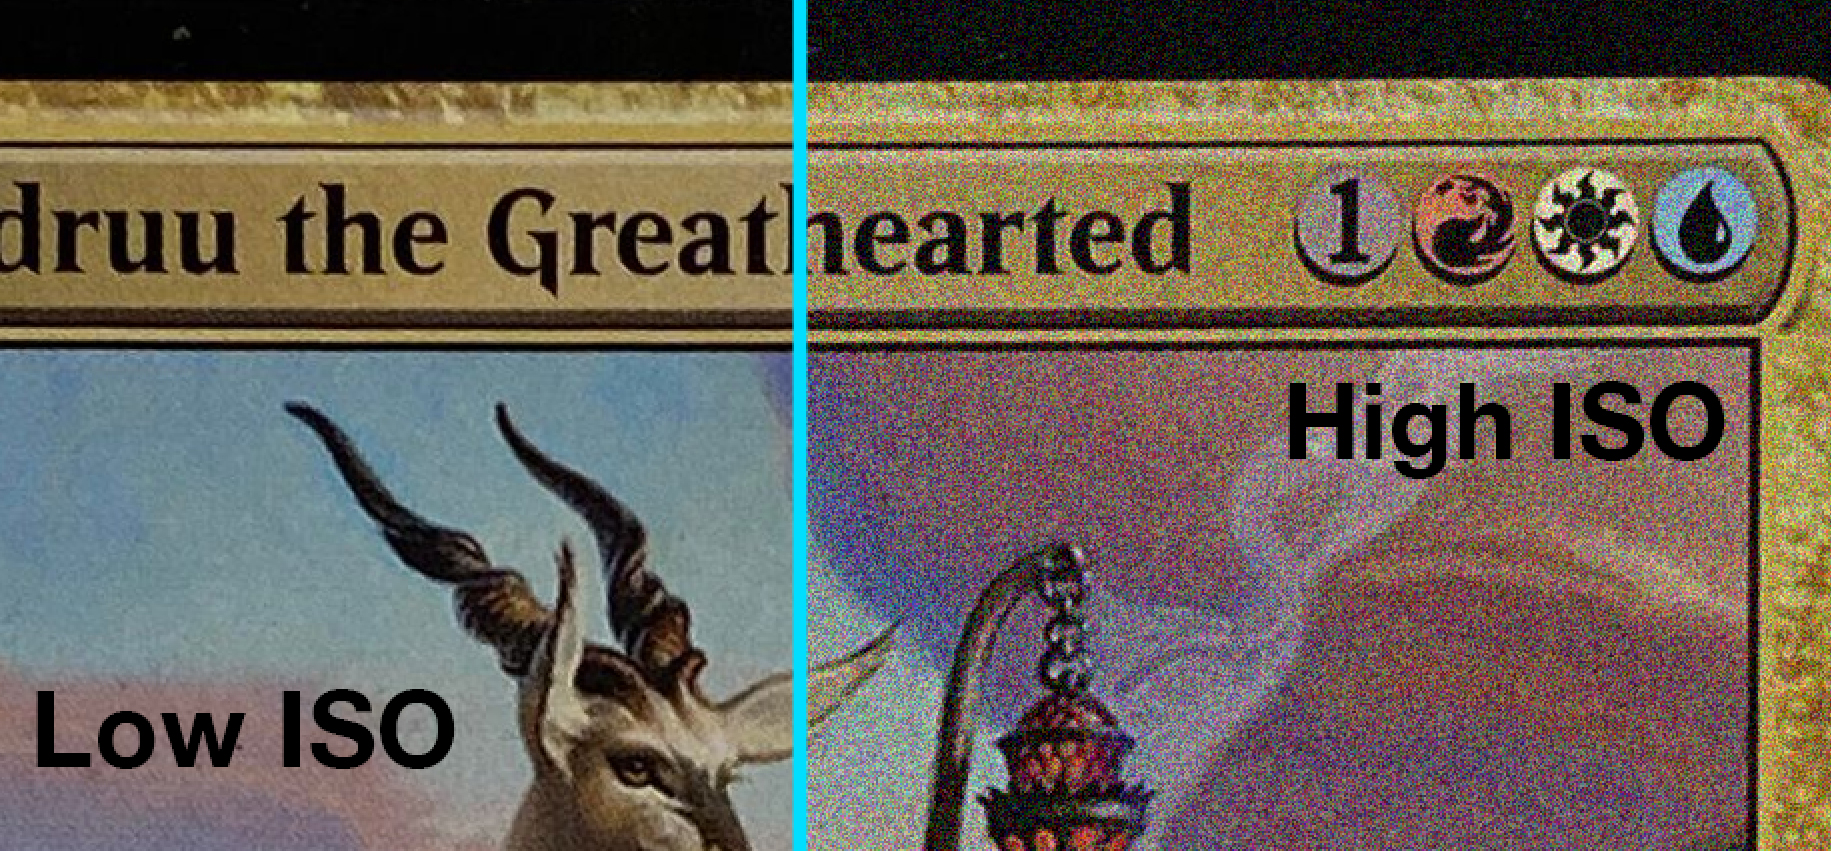
If your device allows for it, reduce the ISO setting to it's lowest numerical option. The lowest most devices will allow for is 100 ISO, but some may go as low as 50. The lower the ISO the clearer and cleaner your photograph will be. If the scene is very dark while you are using an low ISO, than you need to improve the lighting, not change the ISO.
3.
Turn off the camera flash.
This might be something you do from within the camera application, or from within the phone settings. The location of where you take the photo will determine the light source. You never want to use the on camera's on board flash as the glare from the light will detract from the misprint and color.
Easy Lighting
Two very import items of note:
- Harsh light is bad and soft defused light is good.
- Avoid light from directly overhead. This will cause glares and shadows.
Pros: No cost, easy to recreate.
Cons: Limited by time of day and natural weather conditions.
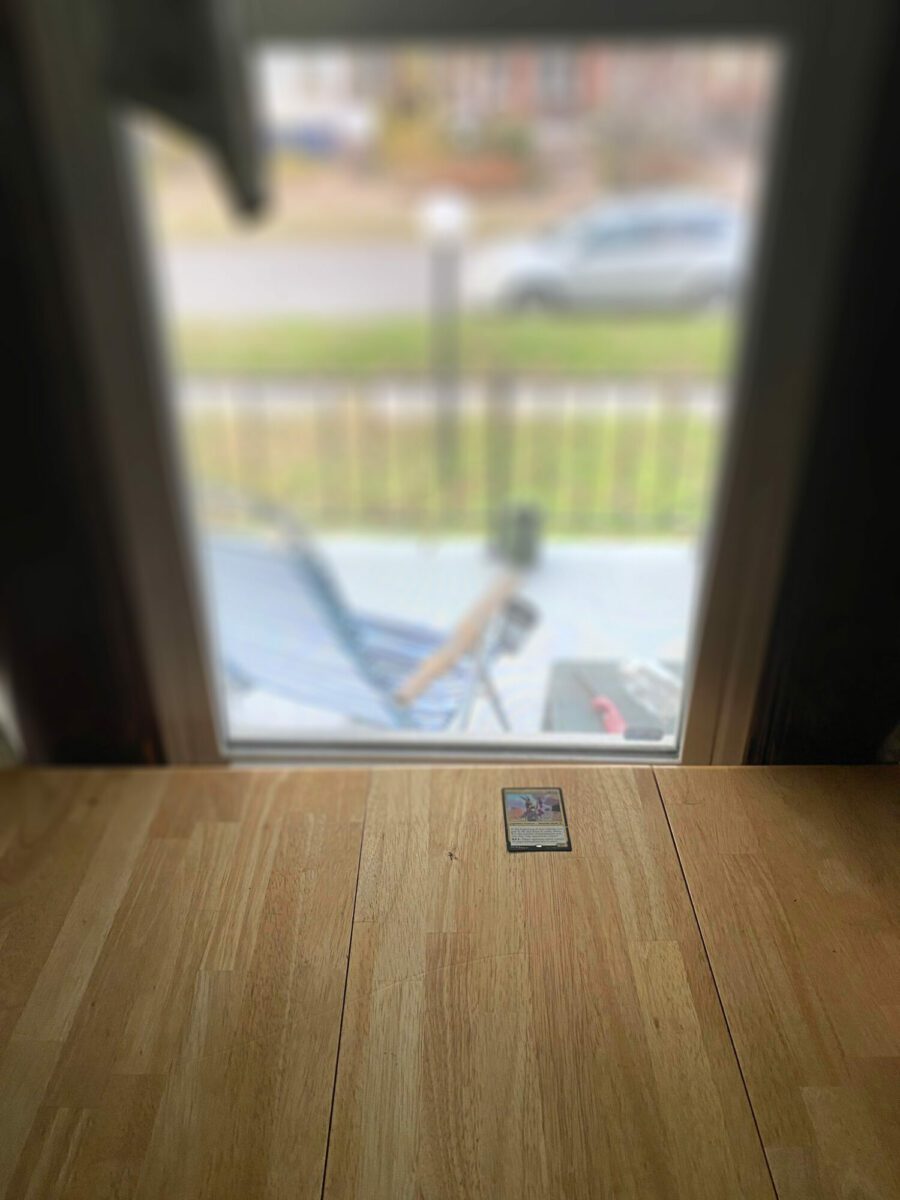
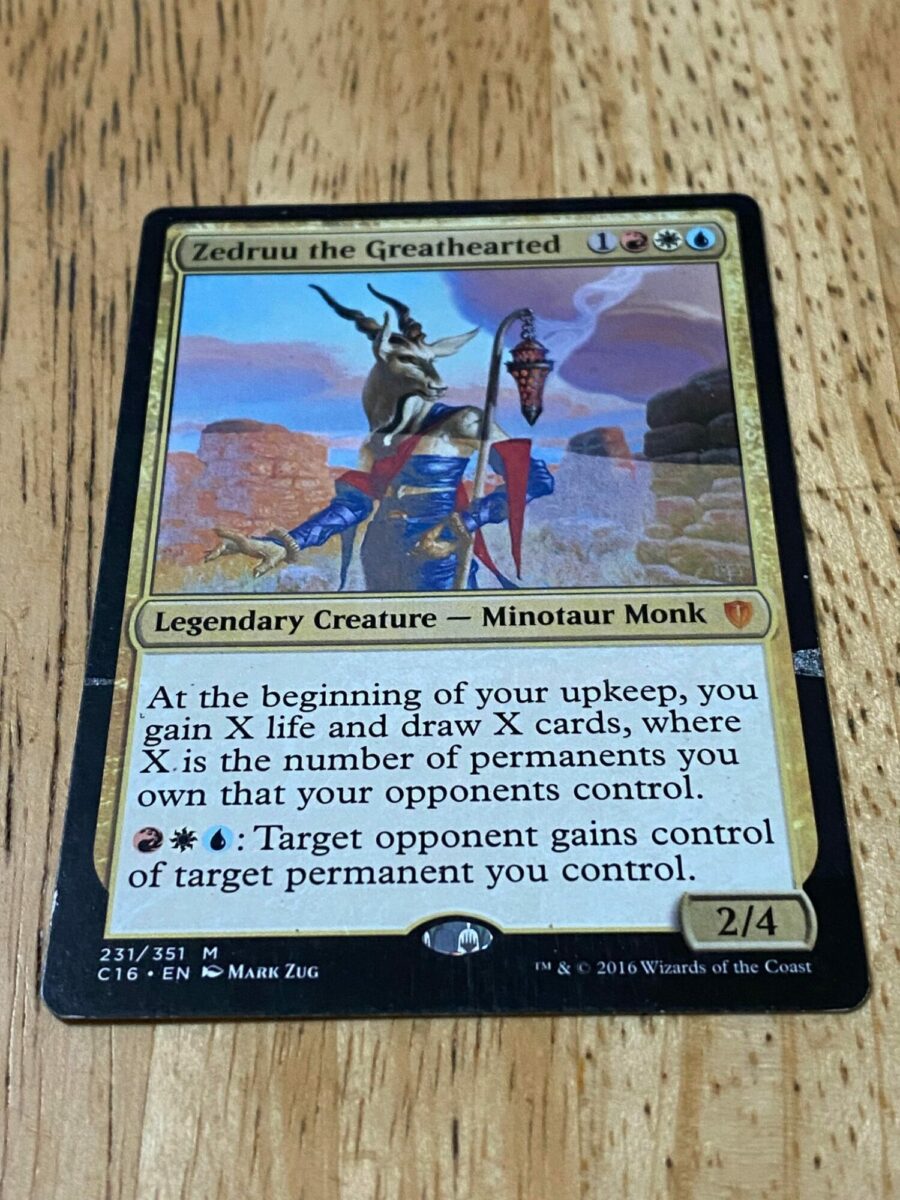
Natural light is great way to go about documenting your cards. Make sure your blinds or curtains are clear of the window. Place your card as close to the window as needed to get the desired density of light. Ideal conditions for this set up are overcast days or on the shadow side of the structure so that the sunlight is not directly entering the window onto the card. You want to avoid harsh light.

Pros: Little to no cost. Easy to set up, easier to control the density of light.
Cons: Quality of light is harder to control. Risk mixing light color.
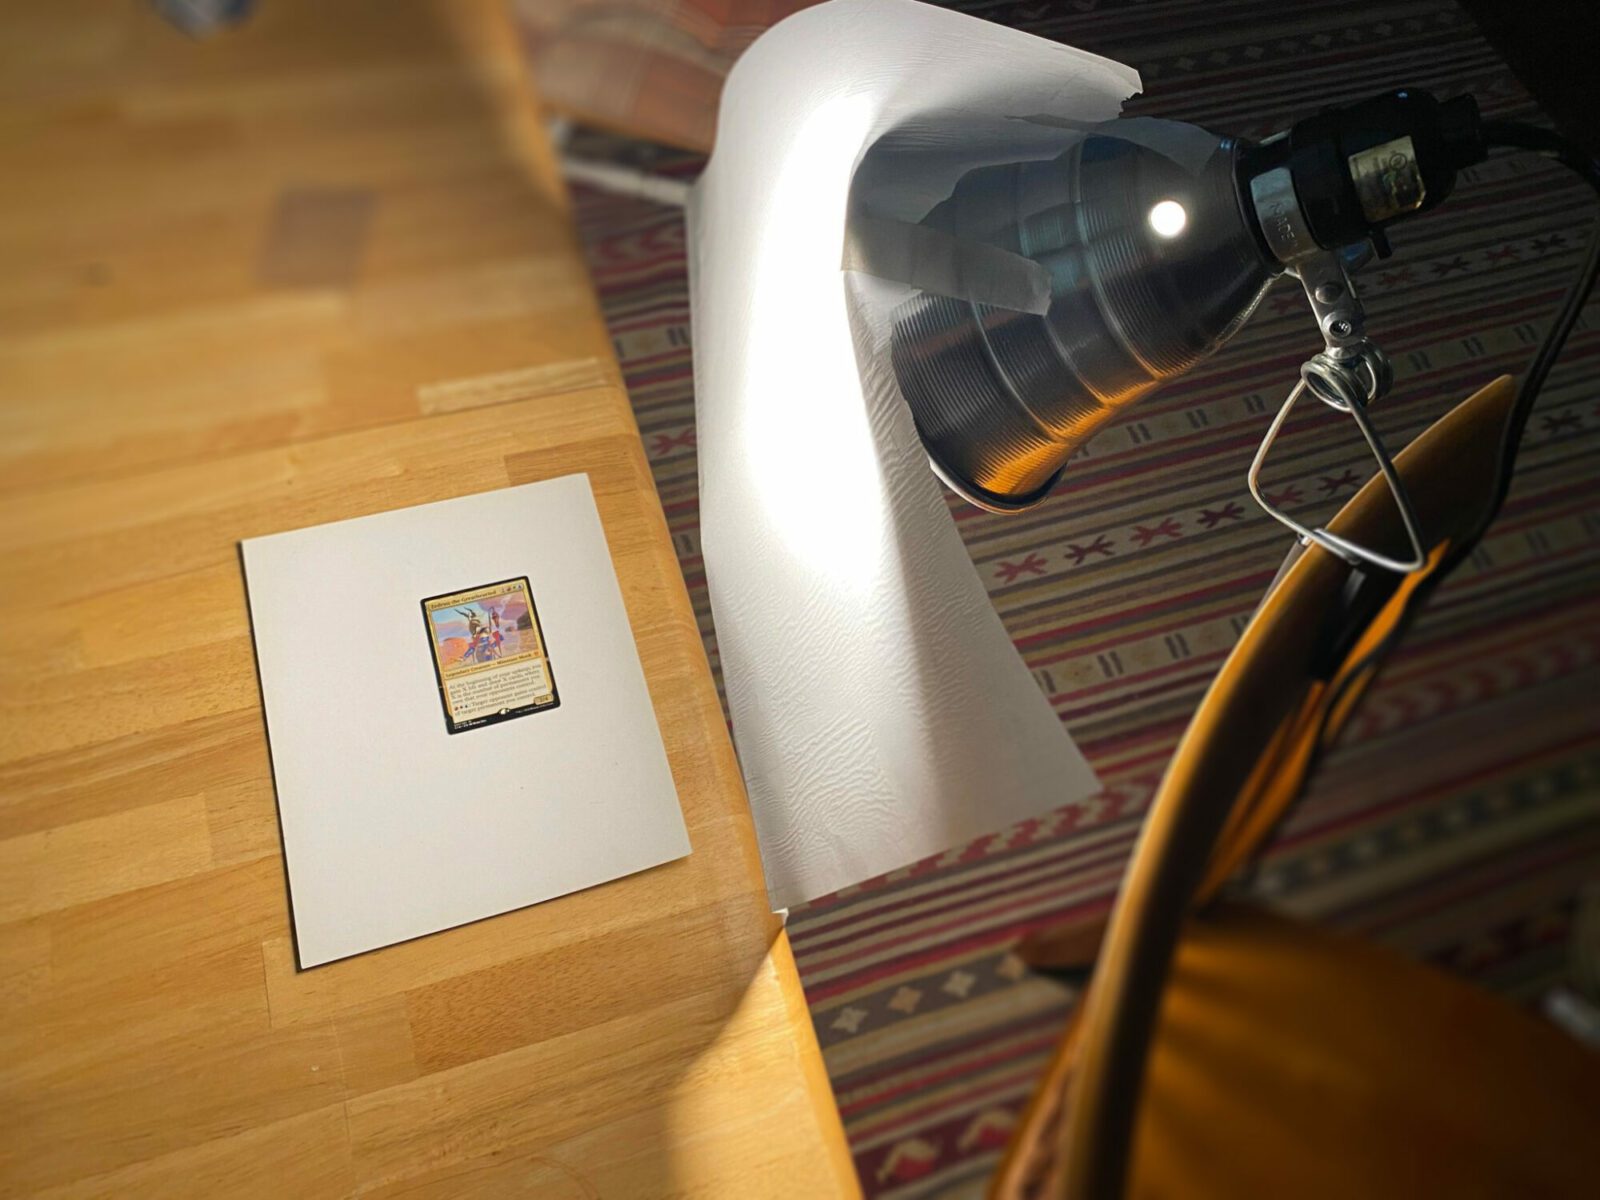
This set up is also pretty easy and a lot of people will just have these items already laying around the house. In addition to the lamp or clamp light, you will need oven safe kitchen parchment paper and some tape. What you want to look out for is competing sources of light. Once your light source is in position, you should turn off all other lights in the room and keep the setup clear of windows during the day. This is especially important if your light sources are a different color. If you are using incandescent light then incandescent should be the only kind of light in the room at the time of documenting. Same for any type of light source. Mixing light types will result in inaccurate color representation within the photograph.
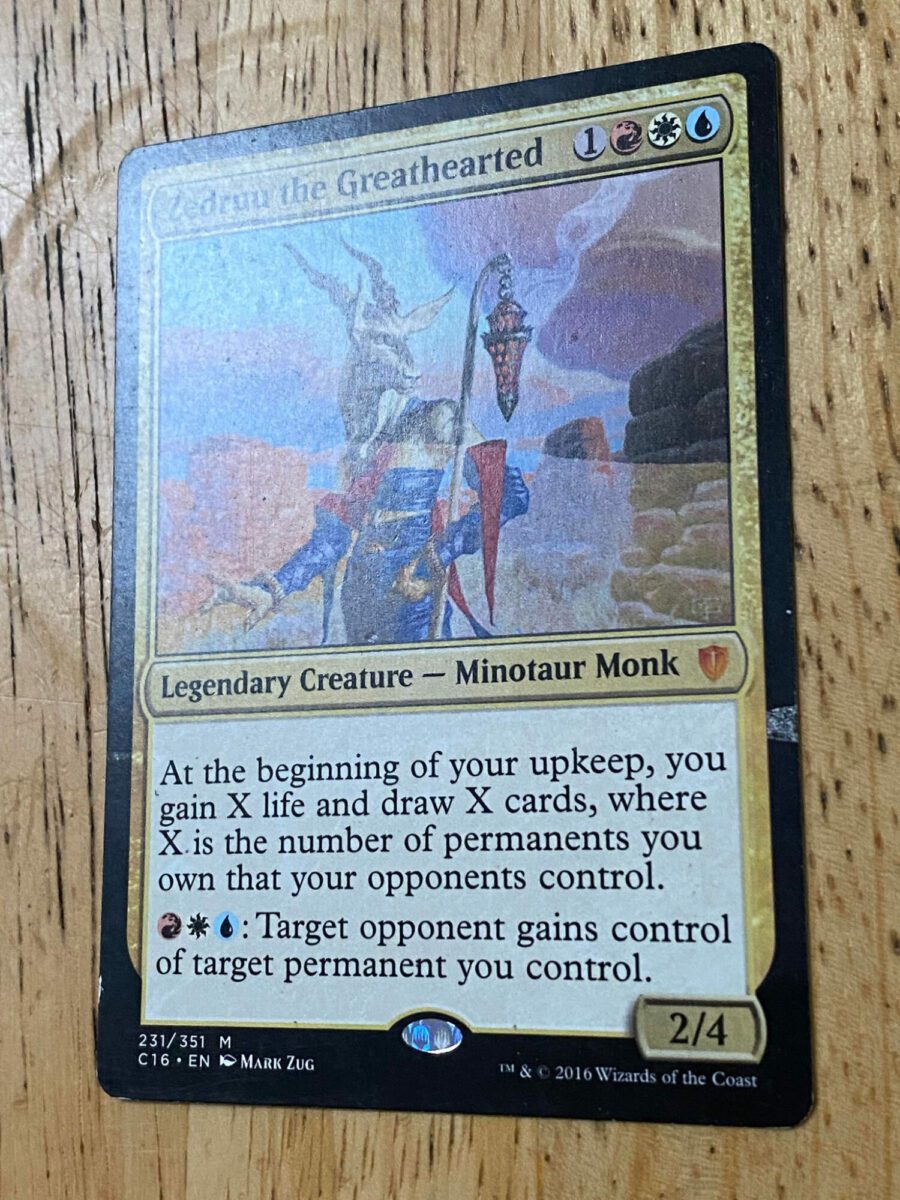
Examples of what not to do


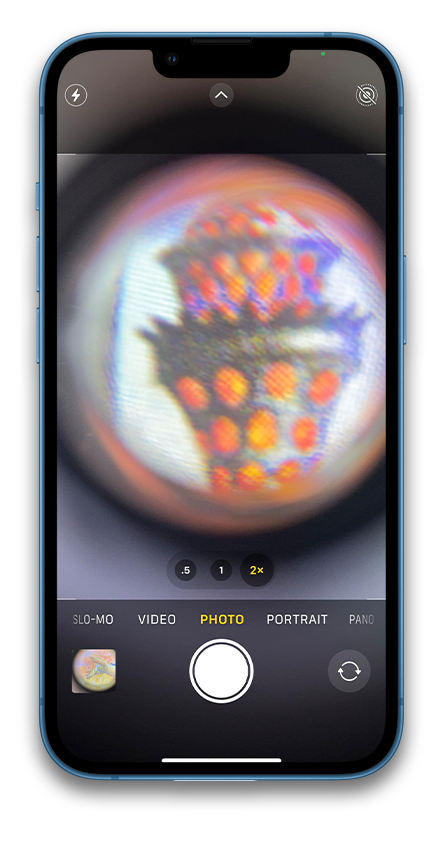
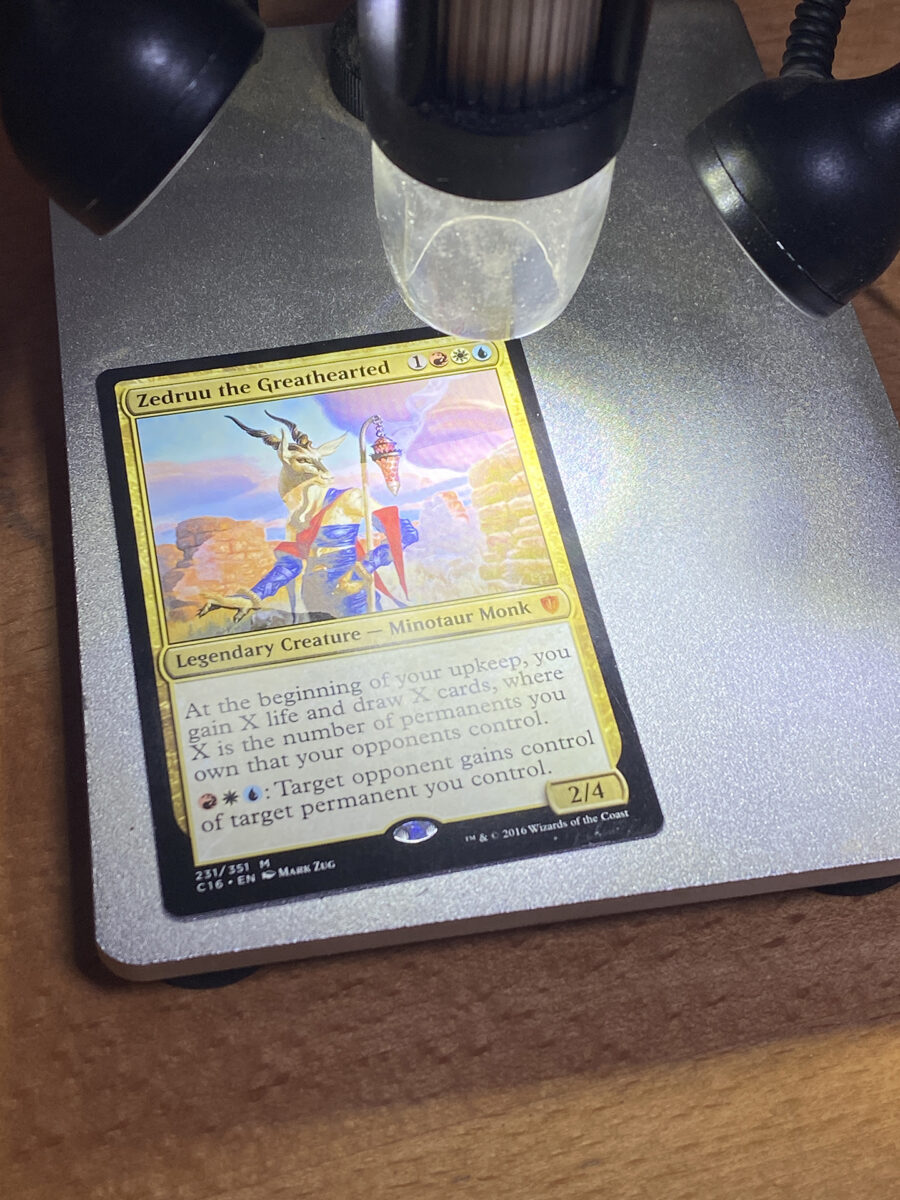
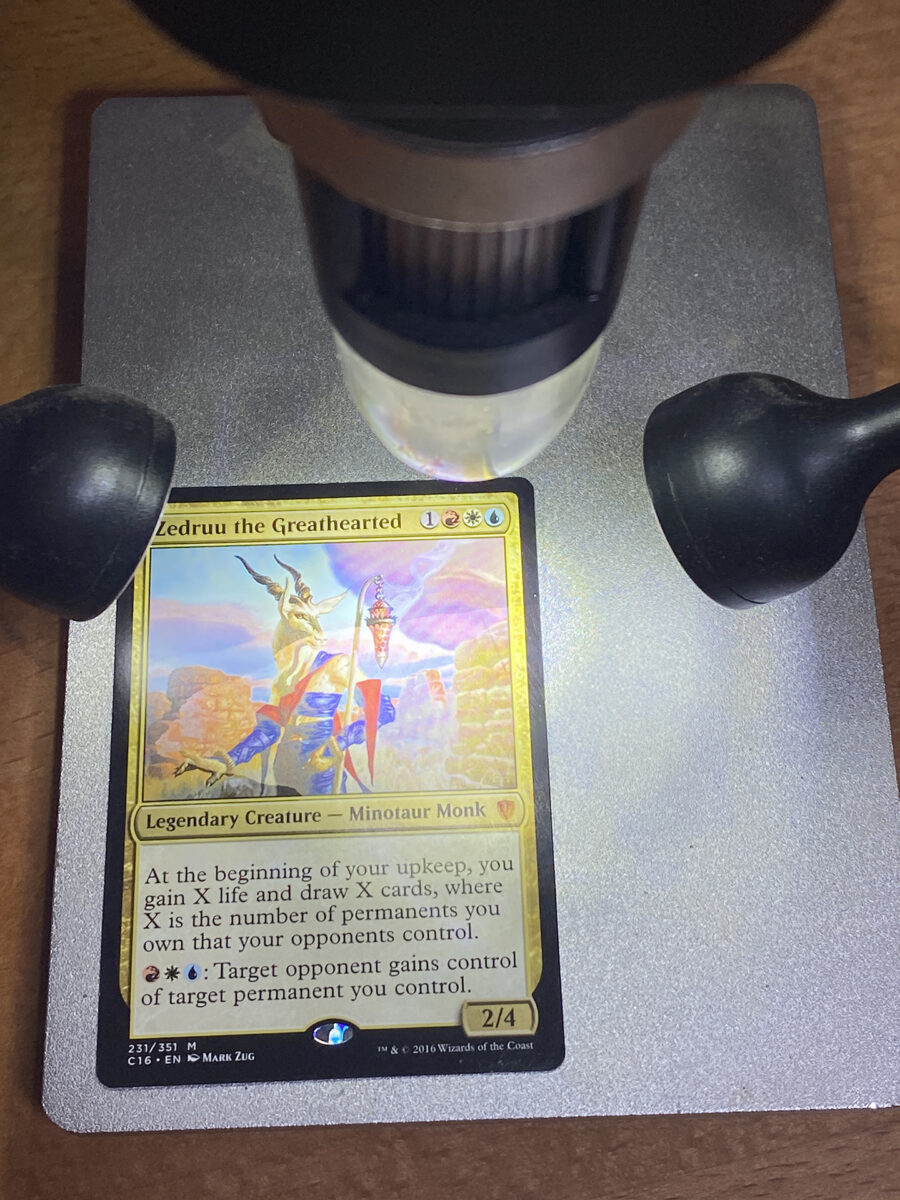
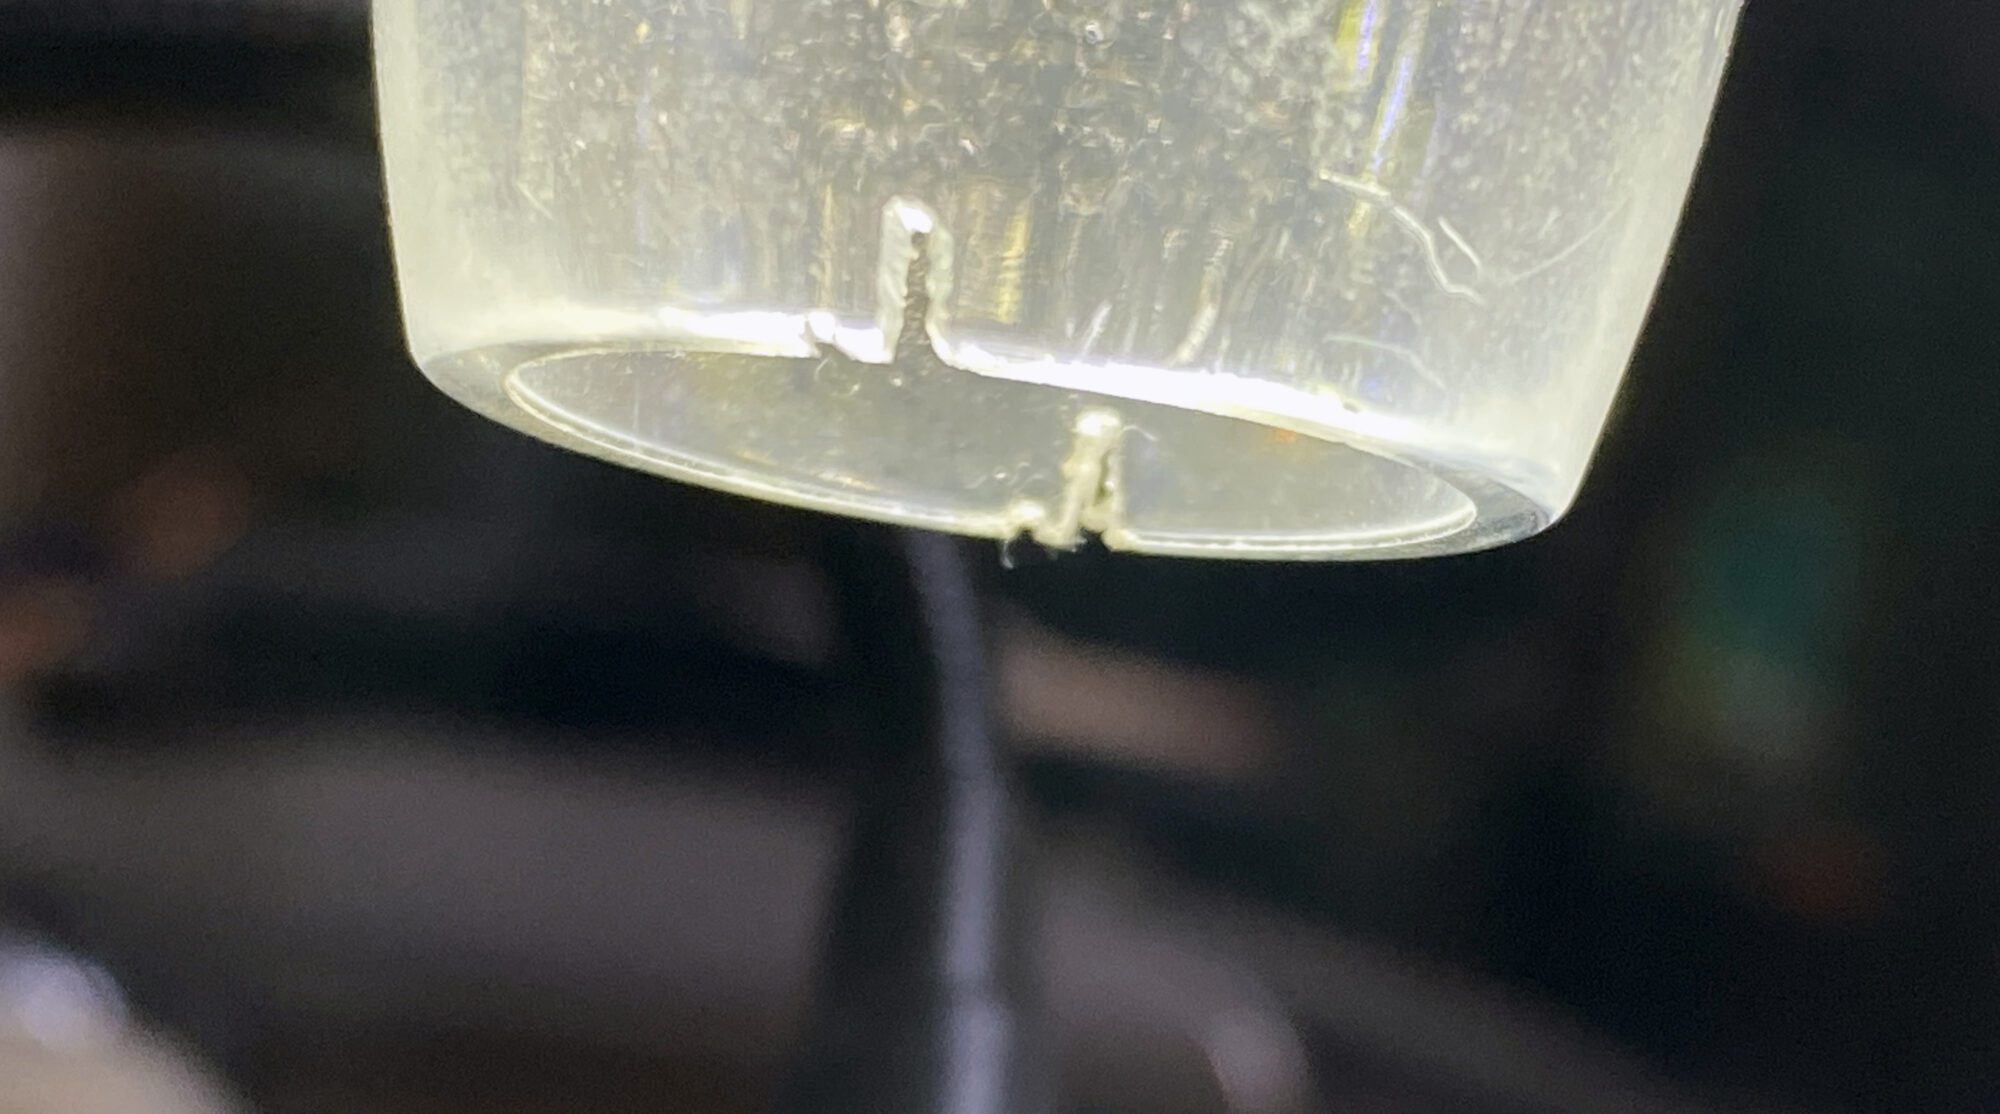
Clip on Microscope
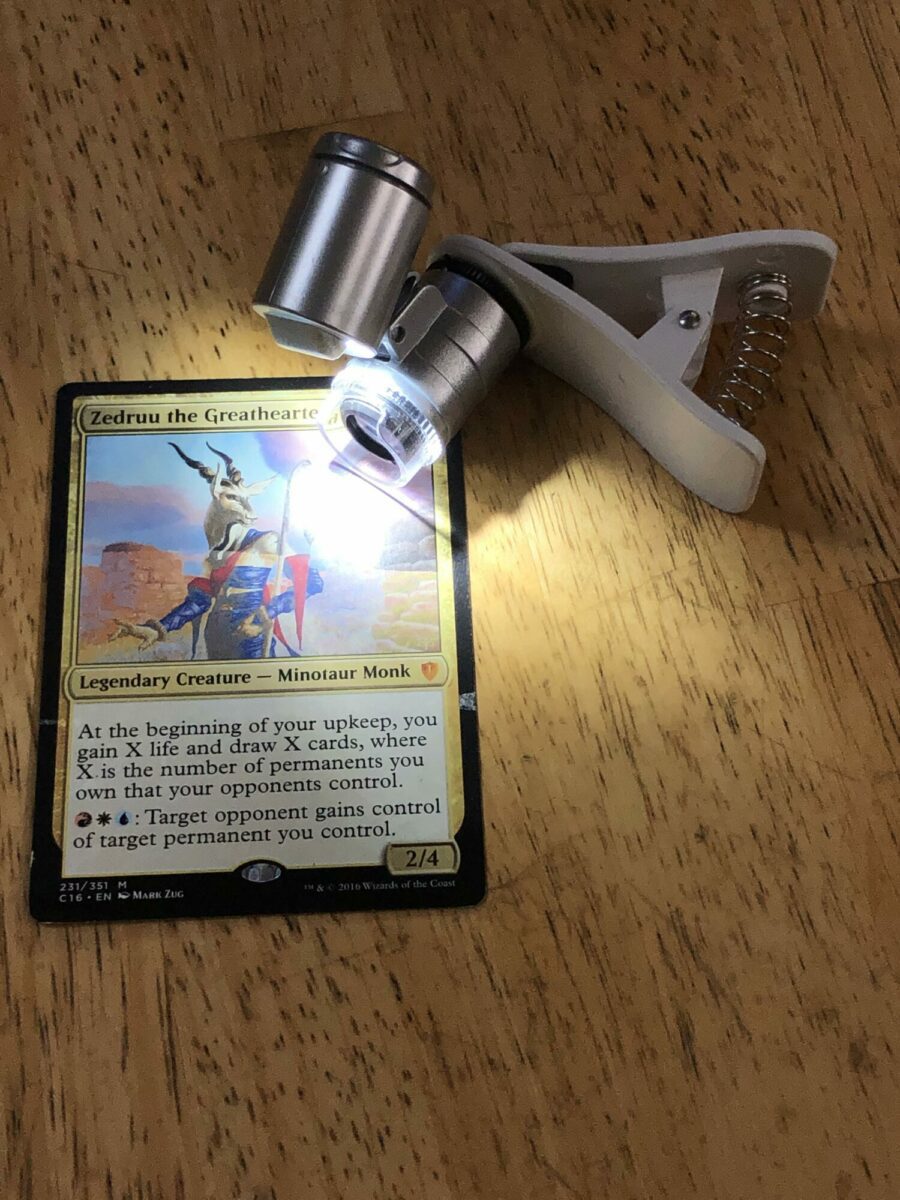
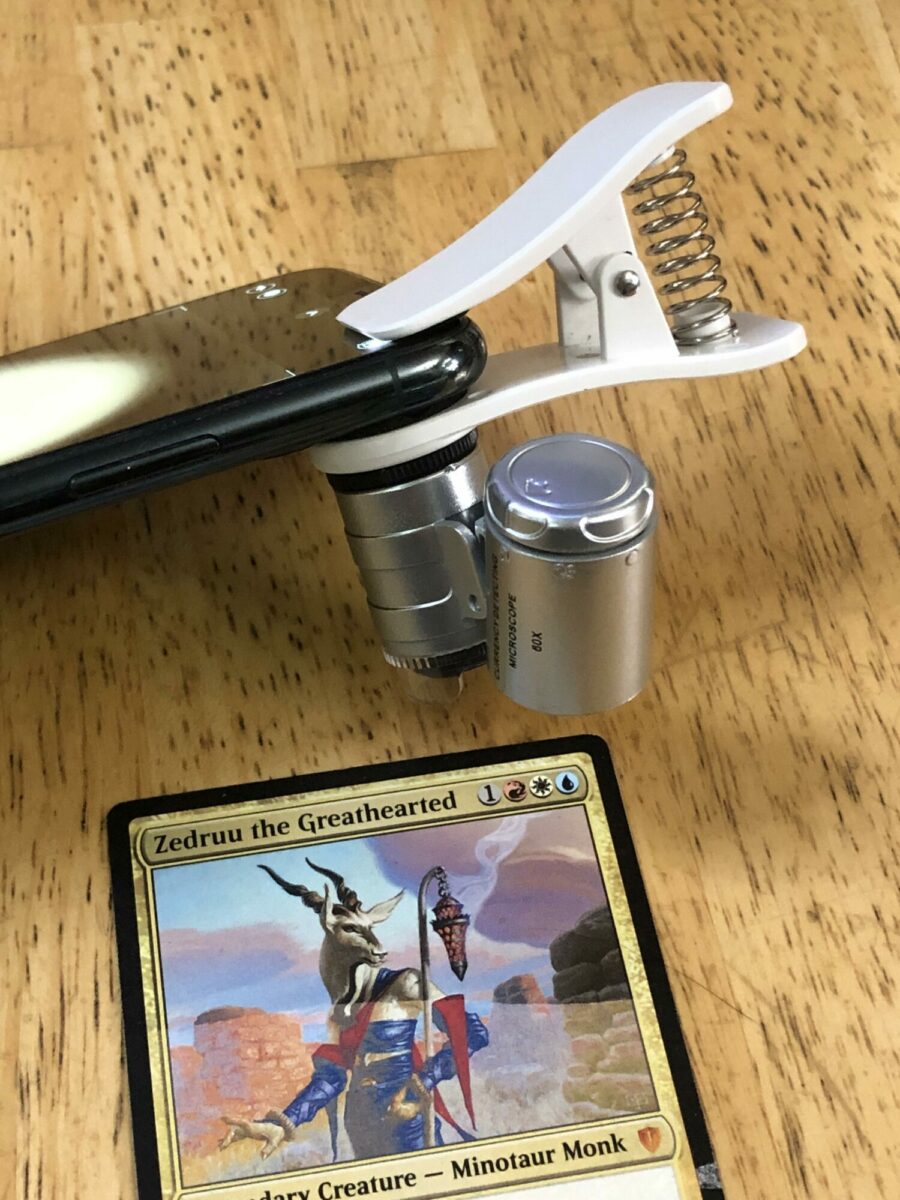
Pros: Inexpensive and gets the job done.
Cons: Impossible to remove the circle of the lens without using digital zoom. Hard to use with a phone case on. Pretty flimsy device and I only recommend this if a stand alone USB microscope isn't an option for you.
Part 2: Details
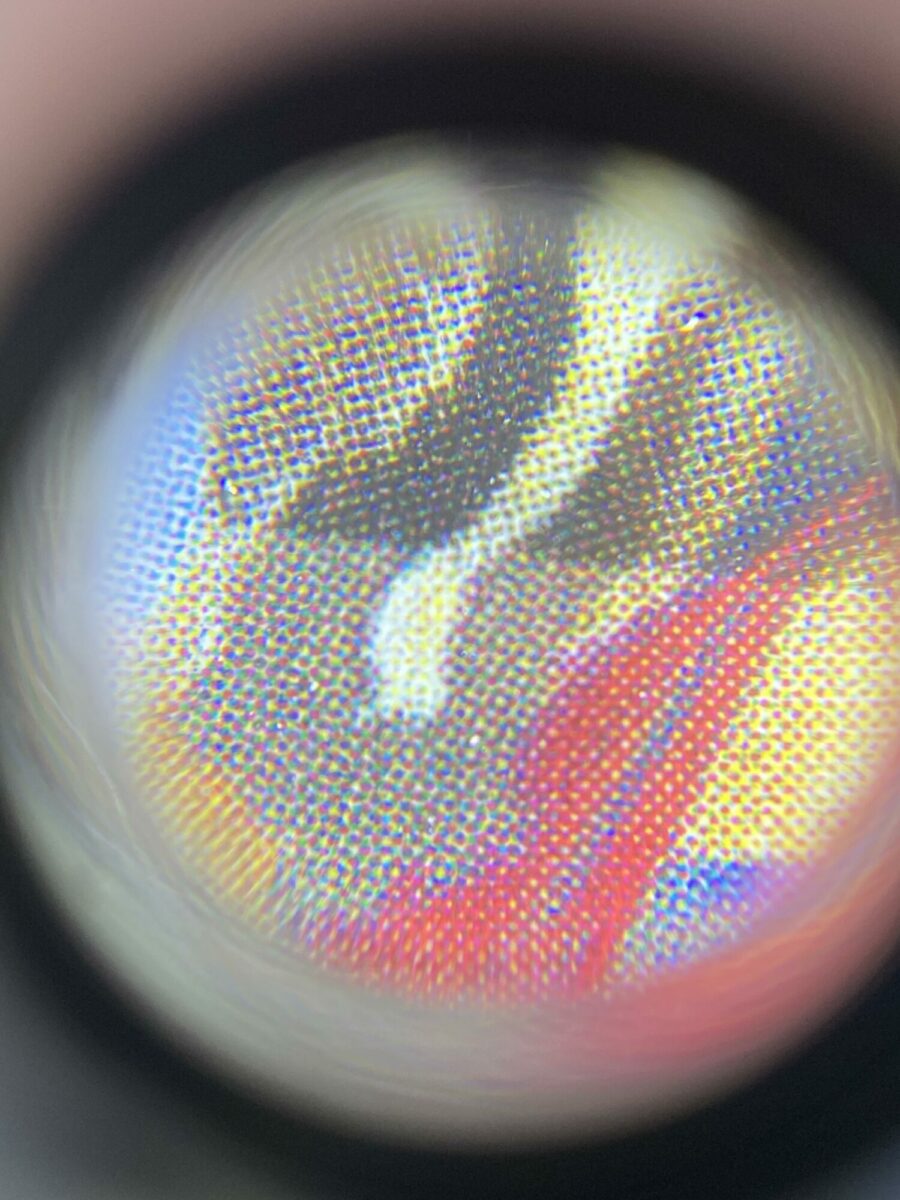
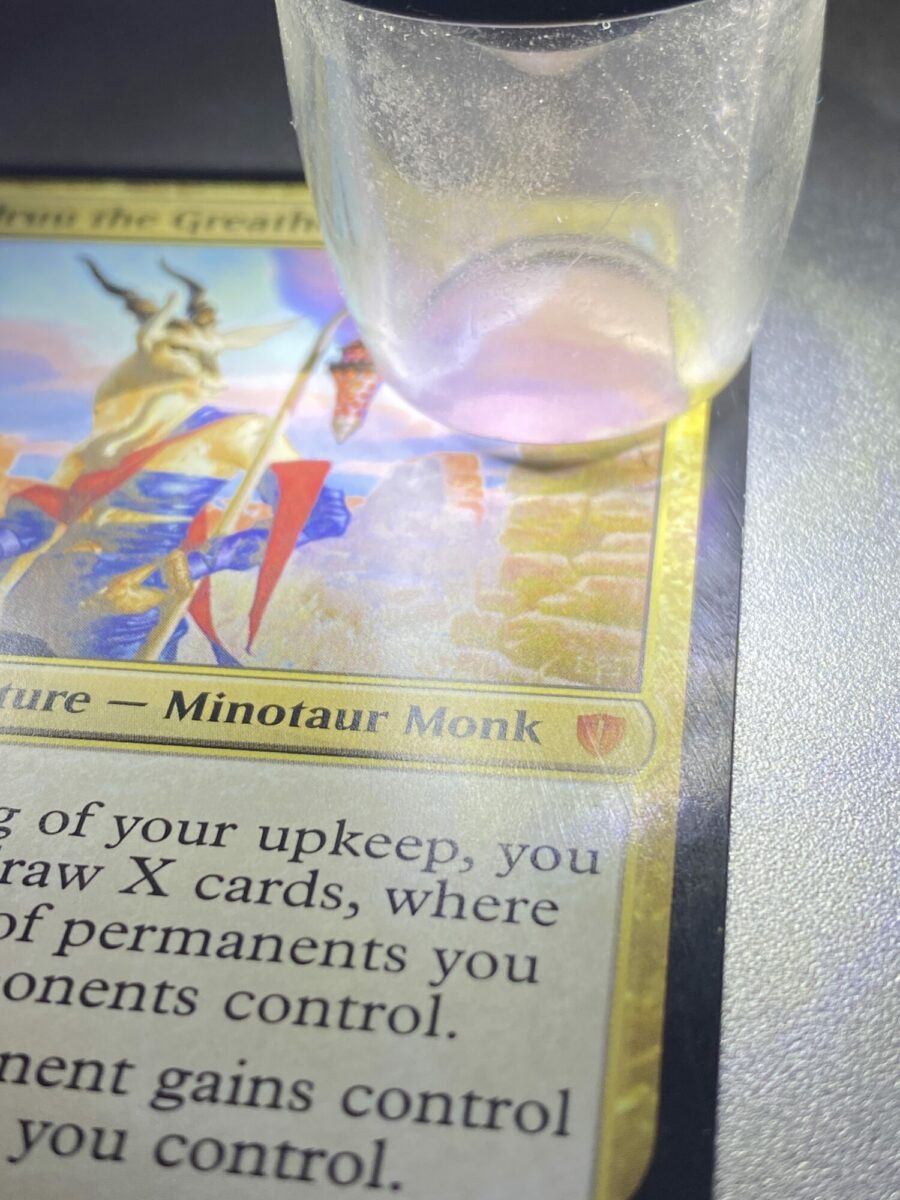
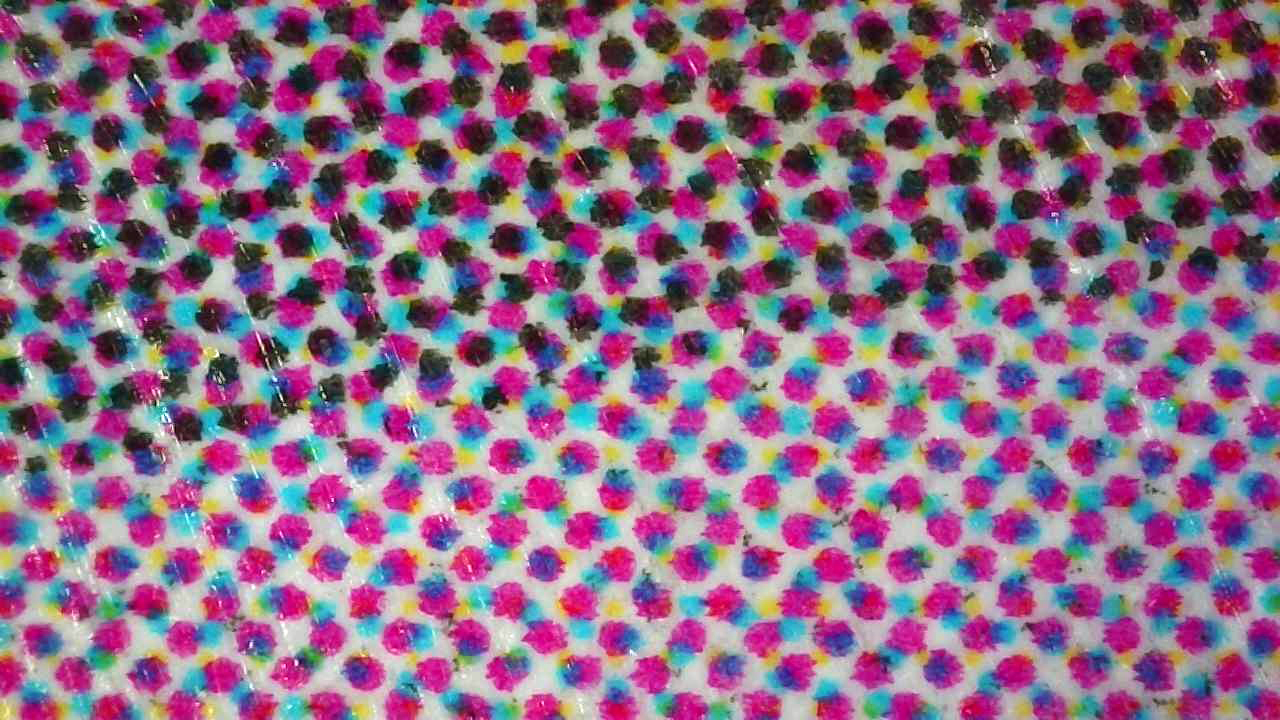
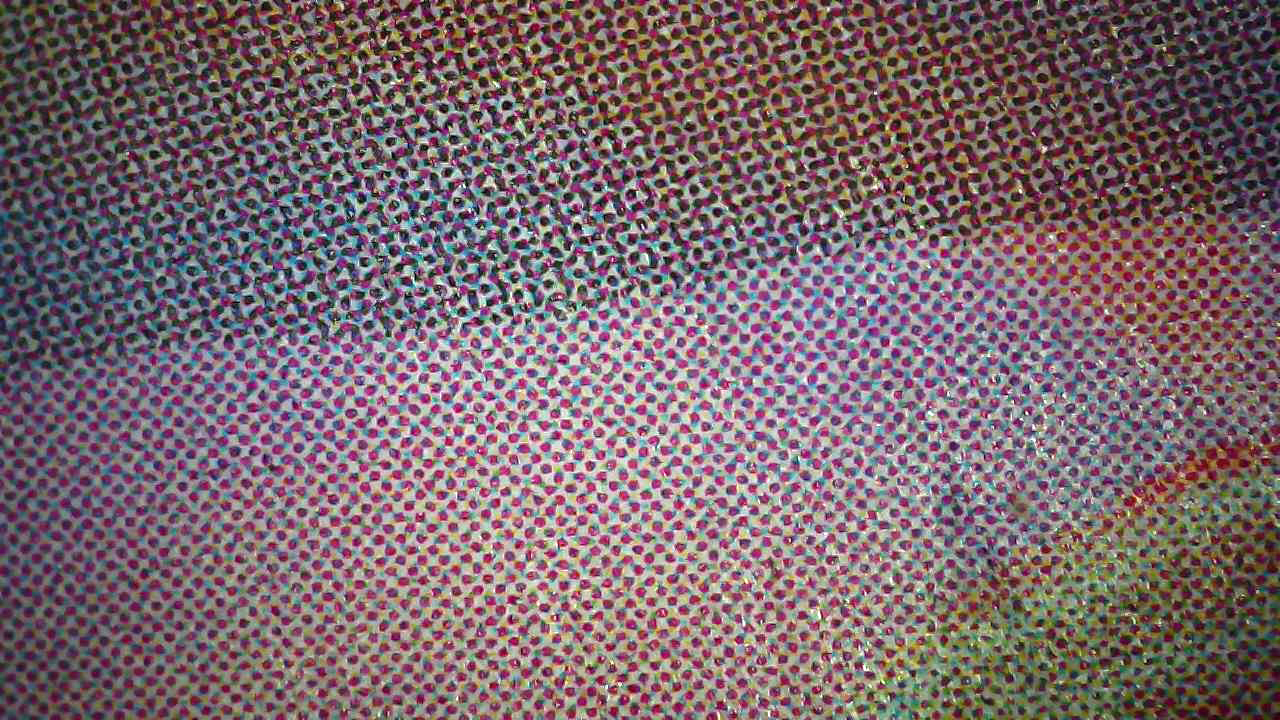
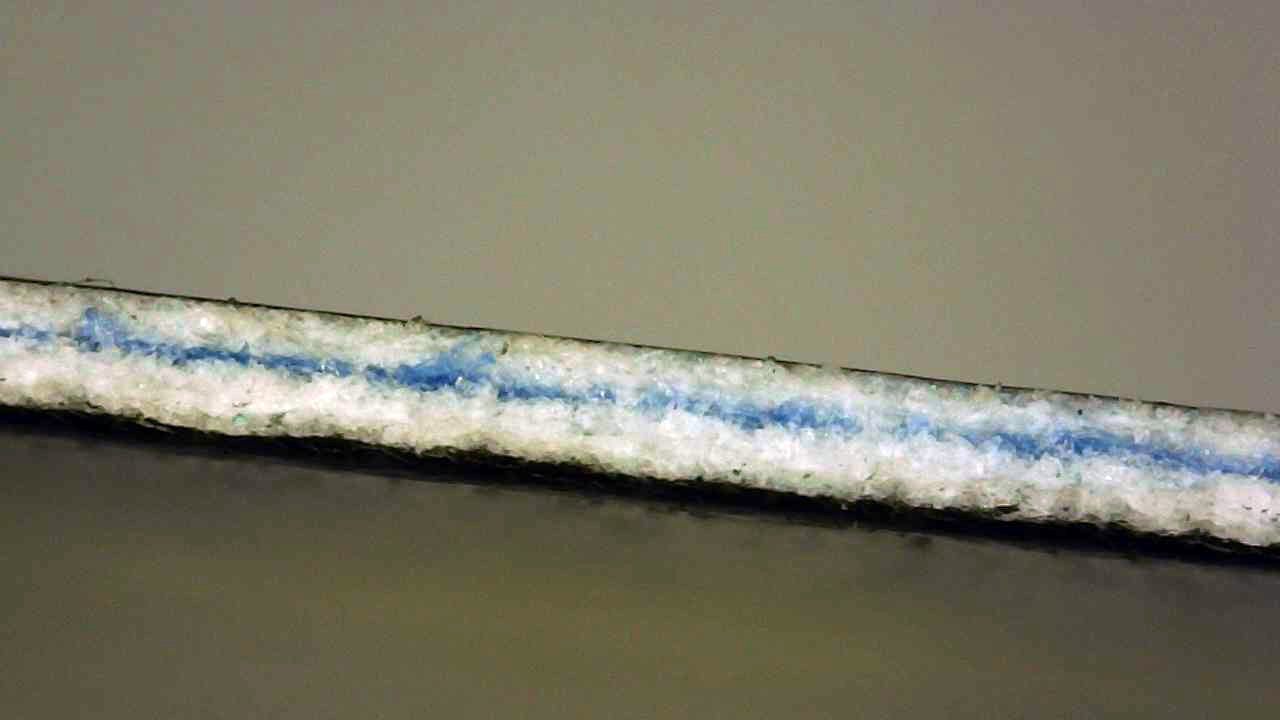
Digital Microscopes
These are great for getting clear images of the halftone dots on the card. Digital microscopes can show off the details of your errors as well as assist in investigating errors you may be unfamiliar with, or in authentication. There is a large variety of these available for purchase.
Below is a 2024 review video of Digital Microscopes. The first three chapters of the video are relevant, while the later chapters are probably above and beyond what your needs will be for misprint documentation.


Flatbed Scanners
Flatbed scanners are good for getting consistently perfect images of the card in high resolution. Like most products, not all scanners are created equal. Avoid "All-In-One" printer scanner combos. These scanners are build to act more as a copy machine and are not built for high end image reproduction. You will want a dedicated photo scanner.
Pros: Consistency in your images, professional quality and image resolution, simple to use.
Cons: Foil cards scan poorly, scanners can be pricey.
Epson and Canon are the standard in this area and you should stick to these brands if you can. Buying a new flatbed scanner can be very expensive, but second hand scanner can save you quite a lot. It's not uncommon to find older generation photo scanners at thrift stores, or ebay and they will work just as well.
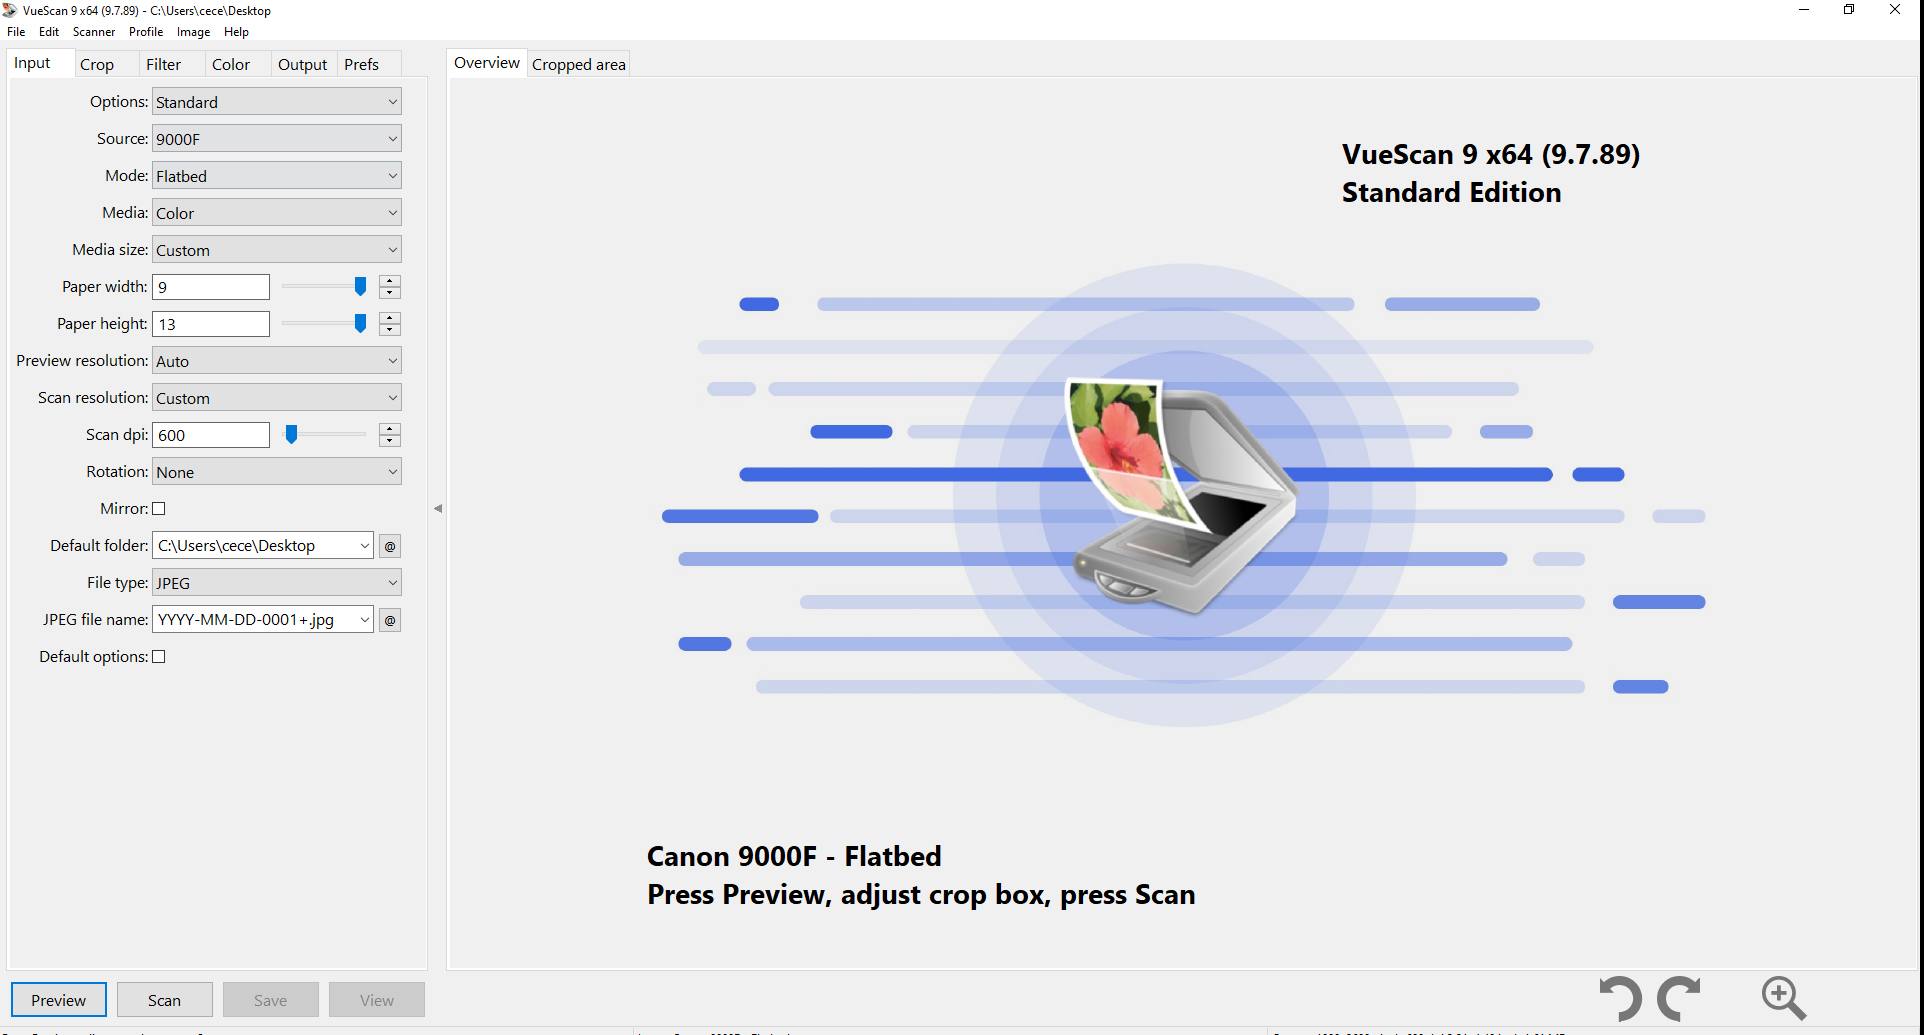
Examples included in this section are scanned using a Canon 9000F flatbed scanner.
The Canon 9000F is listed new on Amazon for $325 USD. However the scanner used here was purchased at a second hand store for $60 and is fully functioning with clean glass. Used 9000F scanners on ebay sell for ~$50 USD.
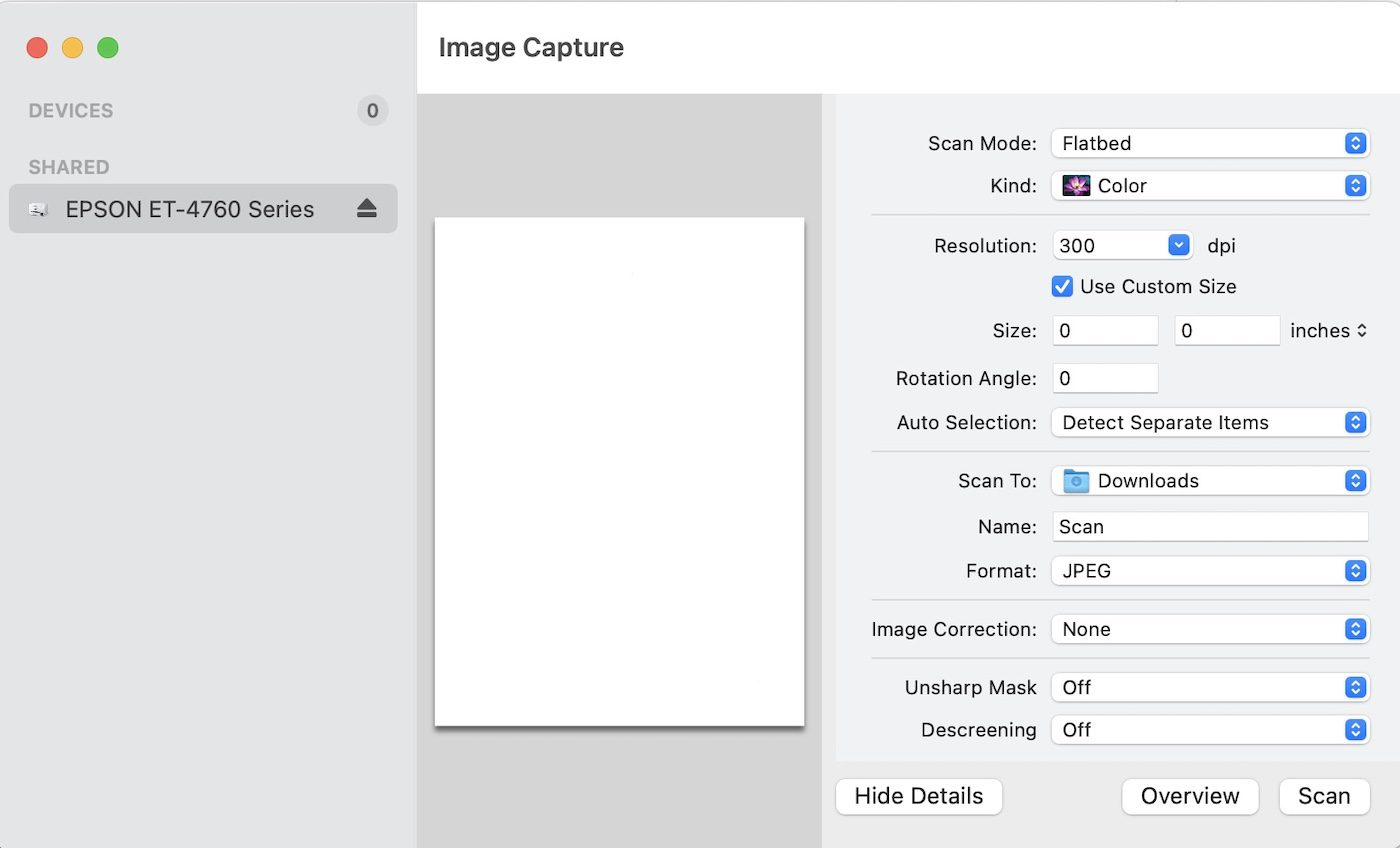
Apple
On an Apple computer, Image Capture comes per-installed will have all the settings you need. Select the scanner from the available devices and you should be given the available settings for your scanner. If these options are not available, look for a setting that enables professional mode.
Windows
The free software Microsoft offers is called Windows Scan. It sucks. Do not use it.
Instead check to see if the scanner has software that came with it and use that. Another alternative is VueScan which costs between $50 and $120 depending on the license you buy (don't get the basic, it's not worth the feature loss).